Your Cart is Empty


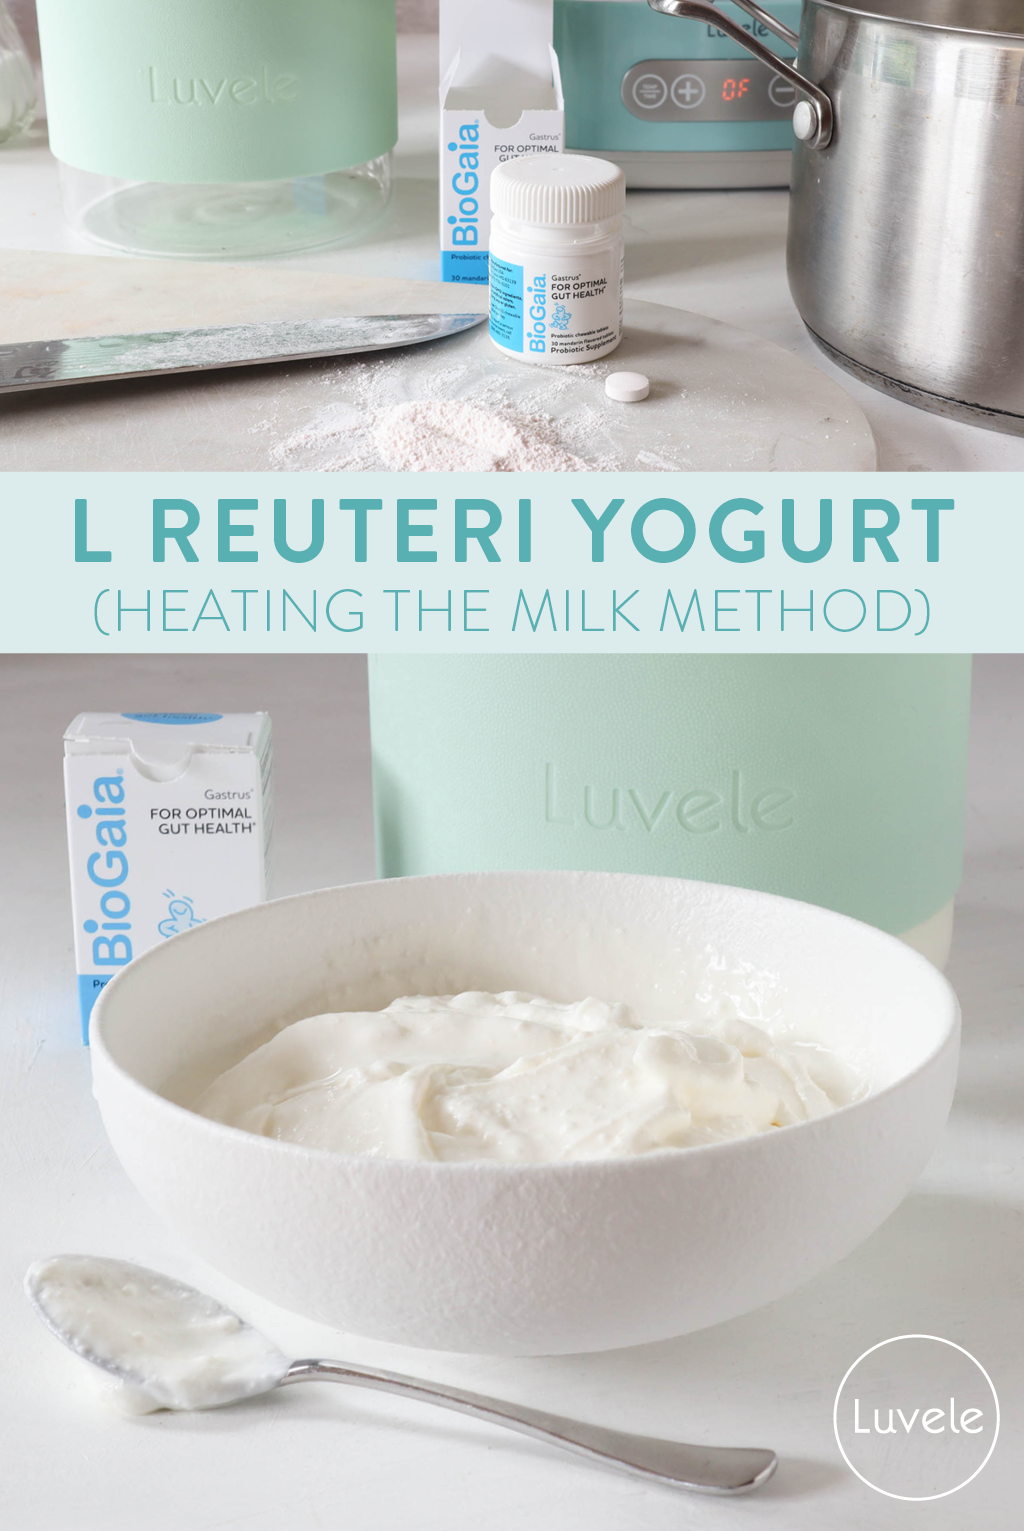
New improved L Reuteri yoghurt method

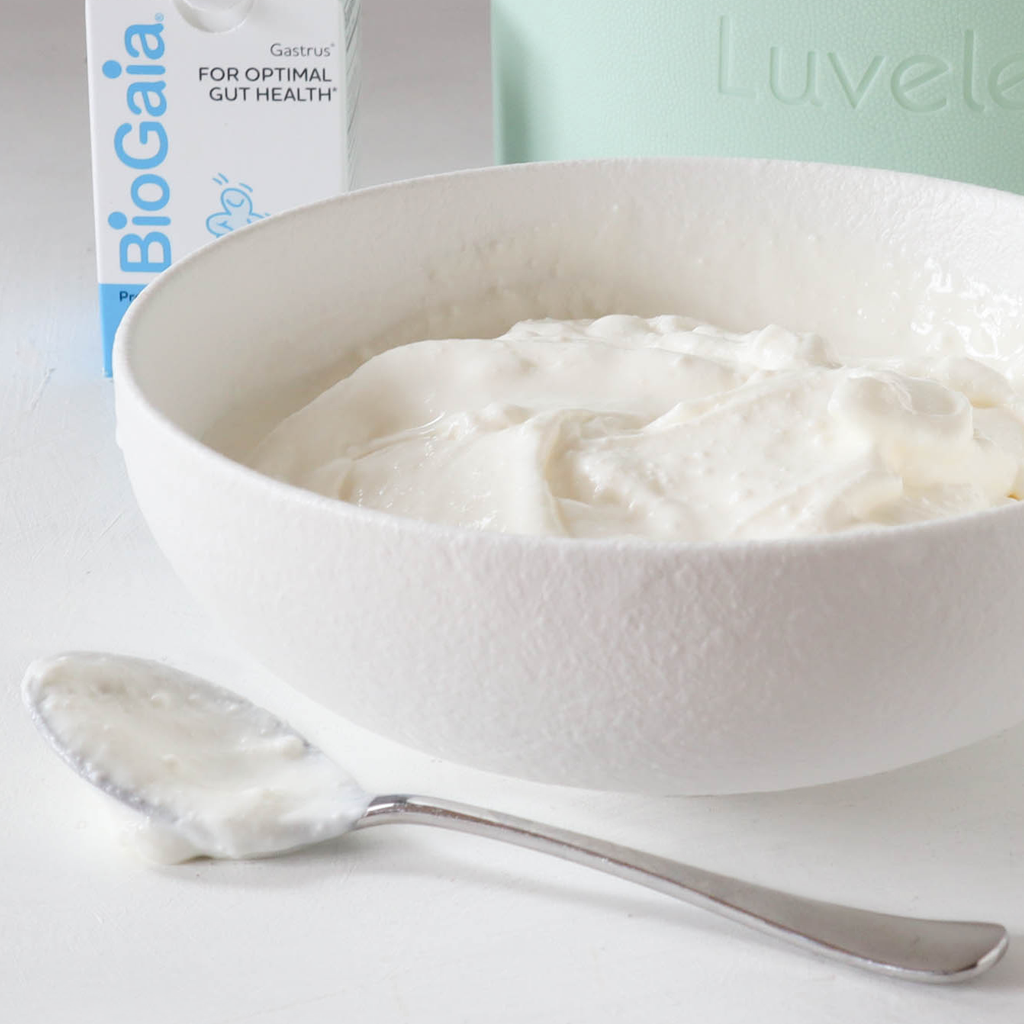
Improve the texture with one extra step!
Making fermented dairy with L reuteri probiotic can and will lead to inconsistent results, it is simply the nature of this probiotic when fermenting in dairy. Separated batches is when the whey separates from the curds, it is very common and should not necessarily be seen as a failure. Many will describe a separate batch as smelling and tasting cheesy.
Remember you are not making traditional yogurt, but fermented dairy, it can and will produce inconsistent results. A separated batch is ok to eat and you can use a separated batch as a starter for the next batch.
Here is a video where we discuss this topic.
IT’S ALL IN THE MILK
Dr Davis created his method using half and half milk, which is a full-fat milk commonly available in America (in the UK and Europe, it’s known as ‘half cream’). Half and half is a blend of equal parts whole milk and light cream. If half and half milk is available in your area, we recommend you follow Dr Davis original method. From our feedback, this method produces reliable results. If half-and-half milk is not available in your country, use UHT (long life milk) or choose organic milk, that is free of pesticides, hormones, antibiotics, fertilisers and GMOs and follow the next step.
HEATING THE MILK
Traditional yogurt making practises have always heated the milk first. Heating and holding milk at 82° C (180° F) for 20 minutes (or longer) denatures the milk proteins so that they bind and set together. In addition to this, the little bit of evaporation and concentration that occurs during the extended heating helps to improve the texture.
Including this step before adding the probiotic bacteria and prebiotic powder made a profound difference to the structure and texture of our L. reuteri yogurt. Without heating, our first attempts with homemade half and half milk produced fragile and thin yogurt with lots of separated whey.
FEWER PROBIOTIC TABLETS (OPTIONAL)
Dr Davis’s original method specified 10 probiotic(BioGaia Gastrus) tablets be used to inoculate milk into yogurt. If you’re familiar with BioGaia Gastrus probiotic tablets, you’ll know how expensive they are! We have experimented using fewer tablets and are pleased to say that we had significant results with only 3 tablets per litre of milk. Because our experiments produced thick textured, tart tasting yogurt we are confident that bacterial fermentation occurred, however without clinical trials, accurate CFU counts are unknown.
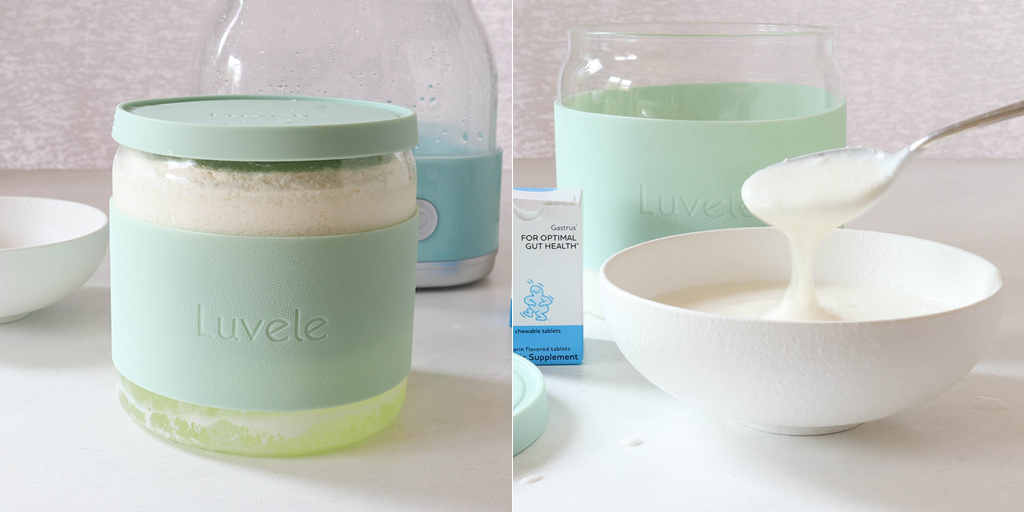
CONSISTENCY
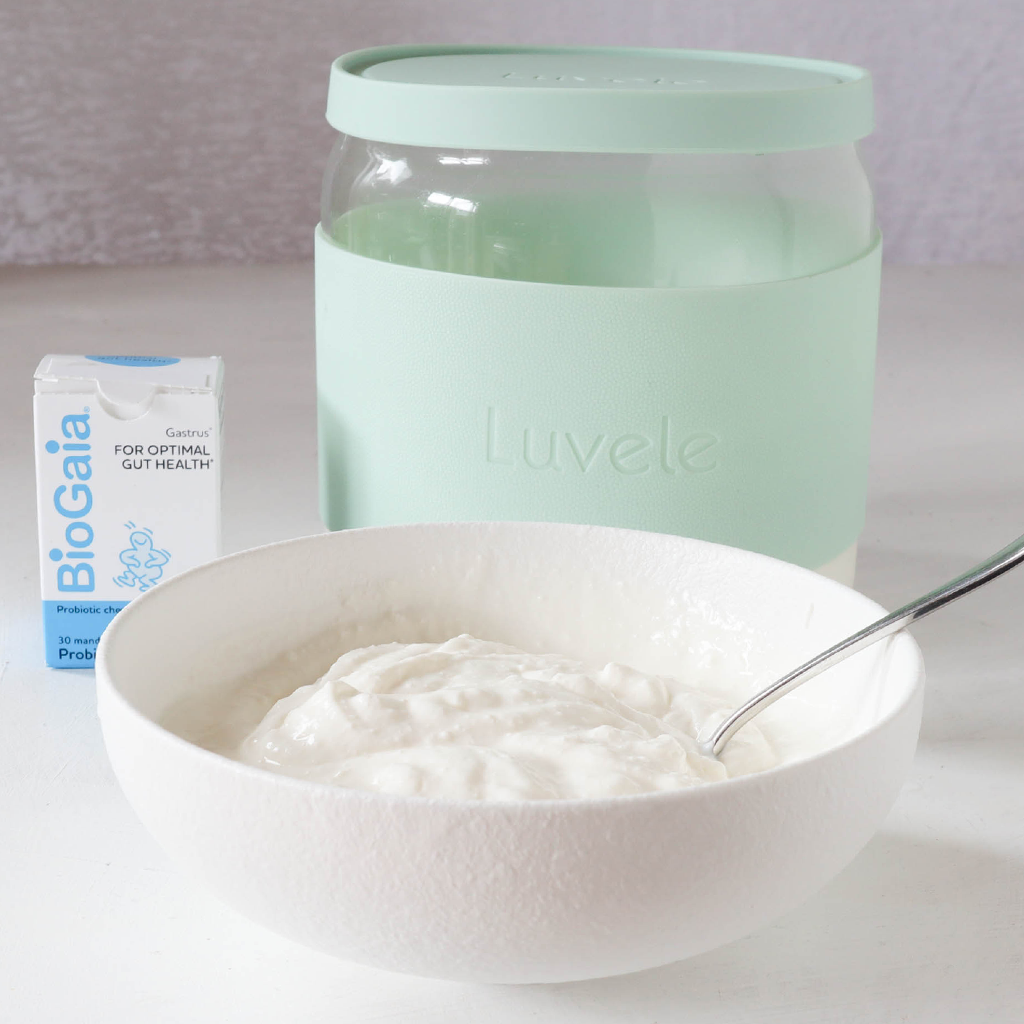
Despite heating the milk, it’s still not unusual for the first batch to have the consistency of drinking yogurt or turn out separated. Both are perfectly consumable. A separated jar contains the same quantity of beneficial bacteria as a non-separated jar. The L. Reuteri are present in both the solids (curds) and the translucent liquid (whey), and therefore both should be consumed. You can either stir the whey into the curd for a thin yogurt or strain it off. Whey is highly nutritious and can be used in a variety of health-giving ways. Adding it into smoothies is a delicious way to get a probiotic boost. For more creative ideas refer to this post. Subsequent batches will be thicker.
SEEDING THE NEXT BATCH
A portion of your first jar of L. reuteri yogurt – the ‘mother batch’ - can then be used to re-inoculate your next jar of L.reuteri yogurt. This means that when preparing your next batch, you simply replace the 3 (or more) crushed tablets with a third a cup of L. reuteri yogurt. It is also possible to freeze a portion of yogurt or whey and use at a later time.
To ensure the L reuteri strains stay pure and uncontaminated, we recommend re-inoculation not occur indefinitely. To ensure the yogurt stays abundant with the L. reuteri strains, and not a breeding ground for other, unwanted bacteria, we recommend starting a fresh mother batch after 4-5 re-inoculations. If you notice any significant changes to the texture, smell or taste of your yogurt, you should do this sooner.
To keep the strains in abundance, some customers suggest adding 1 crushed probiotic tablet with the third of a cup L. reuteri yogurt or whey.

QUANTITY
The recipe below makes 1 litre of yogurt. Double the ingredients to fill the capacity of the Luvele yogurt maker jar.
PREPARATION
Before you begin it is important to sterilise the Luvele yogurt making glass jar, lid and any utensils you use, in boiling hot water. Do this by boiling a kettle and carefully pour the hot water over the equipment. Do not submerge equipment in boiling water. The danger of not sterilising is that other bacteria may overpower your culture and affect the quality of your yogurt.
INGREDIENTS
1 Litre of full cream milk
2 tablespoons pure organic inulin powder (or prebiotic powder of your choice)
3 tablets of BioGaia Gastrus, crushed or 1/3 cup of L.reuteri yogurt or whey from a previous batch
METHOD
1. Pour the milk into a large clean saucepan.
2. Place the saucepan on the stove top and heat the milk to 82° C (180° F) Use a thermometer for an accurate reading.
3. Hold the milk at this temperature for 20 – 30 minutes. It can be a challenge to hold the milk at a high temperature for so long. We recommend using a double boiler pot filled with boiling water. Don’t get too caught up on the precise temperature. If the milk accidentally boils briefly, don’t panic – reduce the heat and continue.

4. Remove from the stove. Cover the milk & let cool to below 42° C (107° F). You can actively cool it by filling a sink, or bowl with cold water and setting the pot of heated milk in the cold water. It is fine if the milk cools down below 42° or even goes cold, it just mustn't be too hot. Temperatures above 43° C will kill the L. reuteri strains. As the milk cools, a layer of skin will form on the top. There is no harm leaving it in. It does not produce lumpy yogurt.
5. Pour 1/3 cup of preheated and cooled milk into a small ceramic bowl.
6. Pour the remaining milk into the yogurt making glass jar.
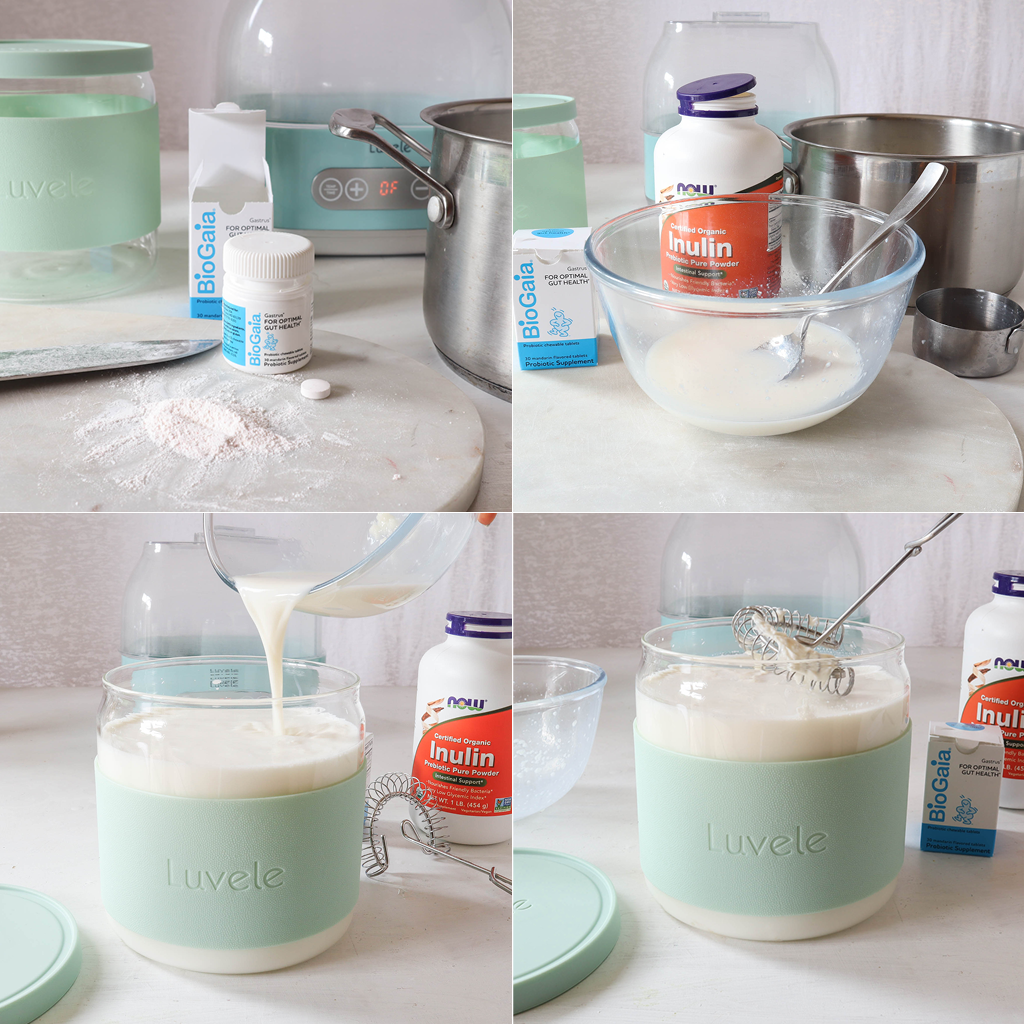
7. Add the inulin powder to the small bowl of milk and mix to form a slurry. Note: It will have a gluey consistency and may not incorporate.
8. Add the probiotic starter - one of the below methods:
a) Crush 3 BioGaia Gastrus probiotic tablets into a fine powder using a mortar and pestle, or other hard object on a clean, dry surface. Add the crushed probiotic powder to the milk & inulin slurry and mix in. The inulin will cause an inconsistent texture in the slurry. Don't worry. Pour the mixture into the jar of milk and whisk to incorporate.
b) Add 1/3 cup of L. reuteri yogurt or whey from a previous batch (frozen and defrosted may be used) to the slurry and mix in. Pour the slurry into the jar with the milk and whisk to incorporate.
9. Put the lid firmly on the yogurt making jar and place into the yogurt maker. Pour water slowly into the base. The water must not be filled over the ‘tall line’ indicated on the inside wall of the maker. Place the cover lid on top.
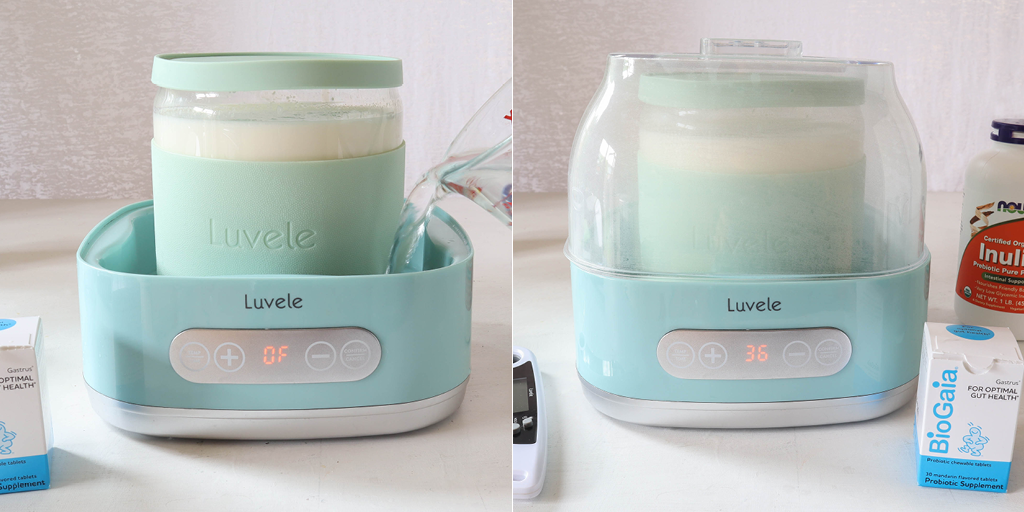
10. The milk is now ready to begin fermentation. Use the digital control panel to set the temperature to 36°C and the time to 36-hours and then press ‘confirm’ to begin incubation. (Old models have a 24-hour timer. After 24 hours the timer will go off. Reset the timer for another 12 hours if you like.)
11. Condensation will have collected under the cover lid during fermentation. Take care removing it and allow the water to drip into the water bath, instead of your bench. Switch the yogurt maker off and remove the yogurt jar. Straight from the maker the L. reuteri yogurt will be warm. Do not stir the yogurt while it is warm or else is will not set in a perfect mass. Depending on the milk you used, your yogurt may have a thin layer of cream on top. Bonus, this is delicious!
12. Place the yogurt in the fridge for at least 6 hours to set then enjoy. Don’t forget to reserve a third of a cup of yogurt or whey for your next batch of yogurt!
DISCLAIMER
Luvele’s L Reuteri Yogurt Disclaimer: The team at Luvele are learning that making L Reuteri yogurt is still very experimental. Dr Davis who first came up with the idea of L Reuteri yogurt, himself has changed his recipe a number of times to try to create a more consistent outcome. However, may people still struggle with inconsistent results.
Please understand, at the end of the day, the L reuteri probiotic DOES NOT make yogurt, traditional yogurt that is, you can only try to make a yogurt like product.
Also note; we have spoken directly with BioGaia in Sweden who are the manufactures of the L Reuteri probiotic, and they themselves strongly point out that L Reuteri was not designed or developed for making yogurt.
It is our belief at Luvele that the combination of ingredients in BioGaia’s L Reuteri probiotic are not always equal from tablet to tablet. It is possible they contribute to the unreliability / inconsistent results. Making yogurt with the L Reuteri strain is unquestionably trying to get the tablets to do something they were never designed to do.
Therefore, this it really a food hacking exercise that can result in inconsistent outcomes.
Click here for our delicious, step by step coconut yogurt L.reuteri method.
PIN THIS RECIPE

Item is added to cart